Helldivers 2 Armor Passives: A Comprehensive Guide and Tier List
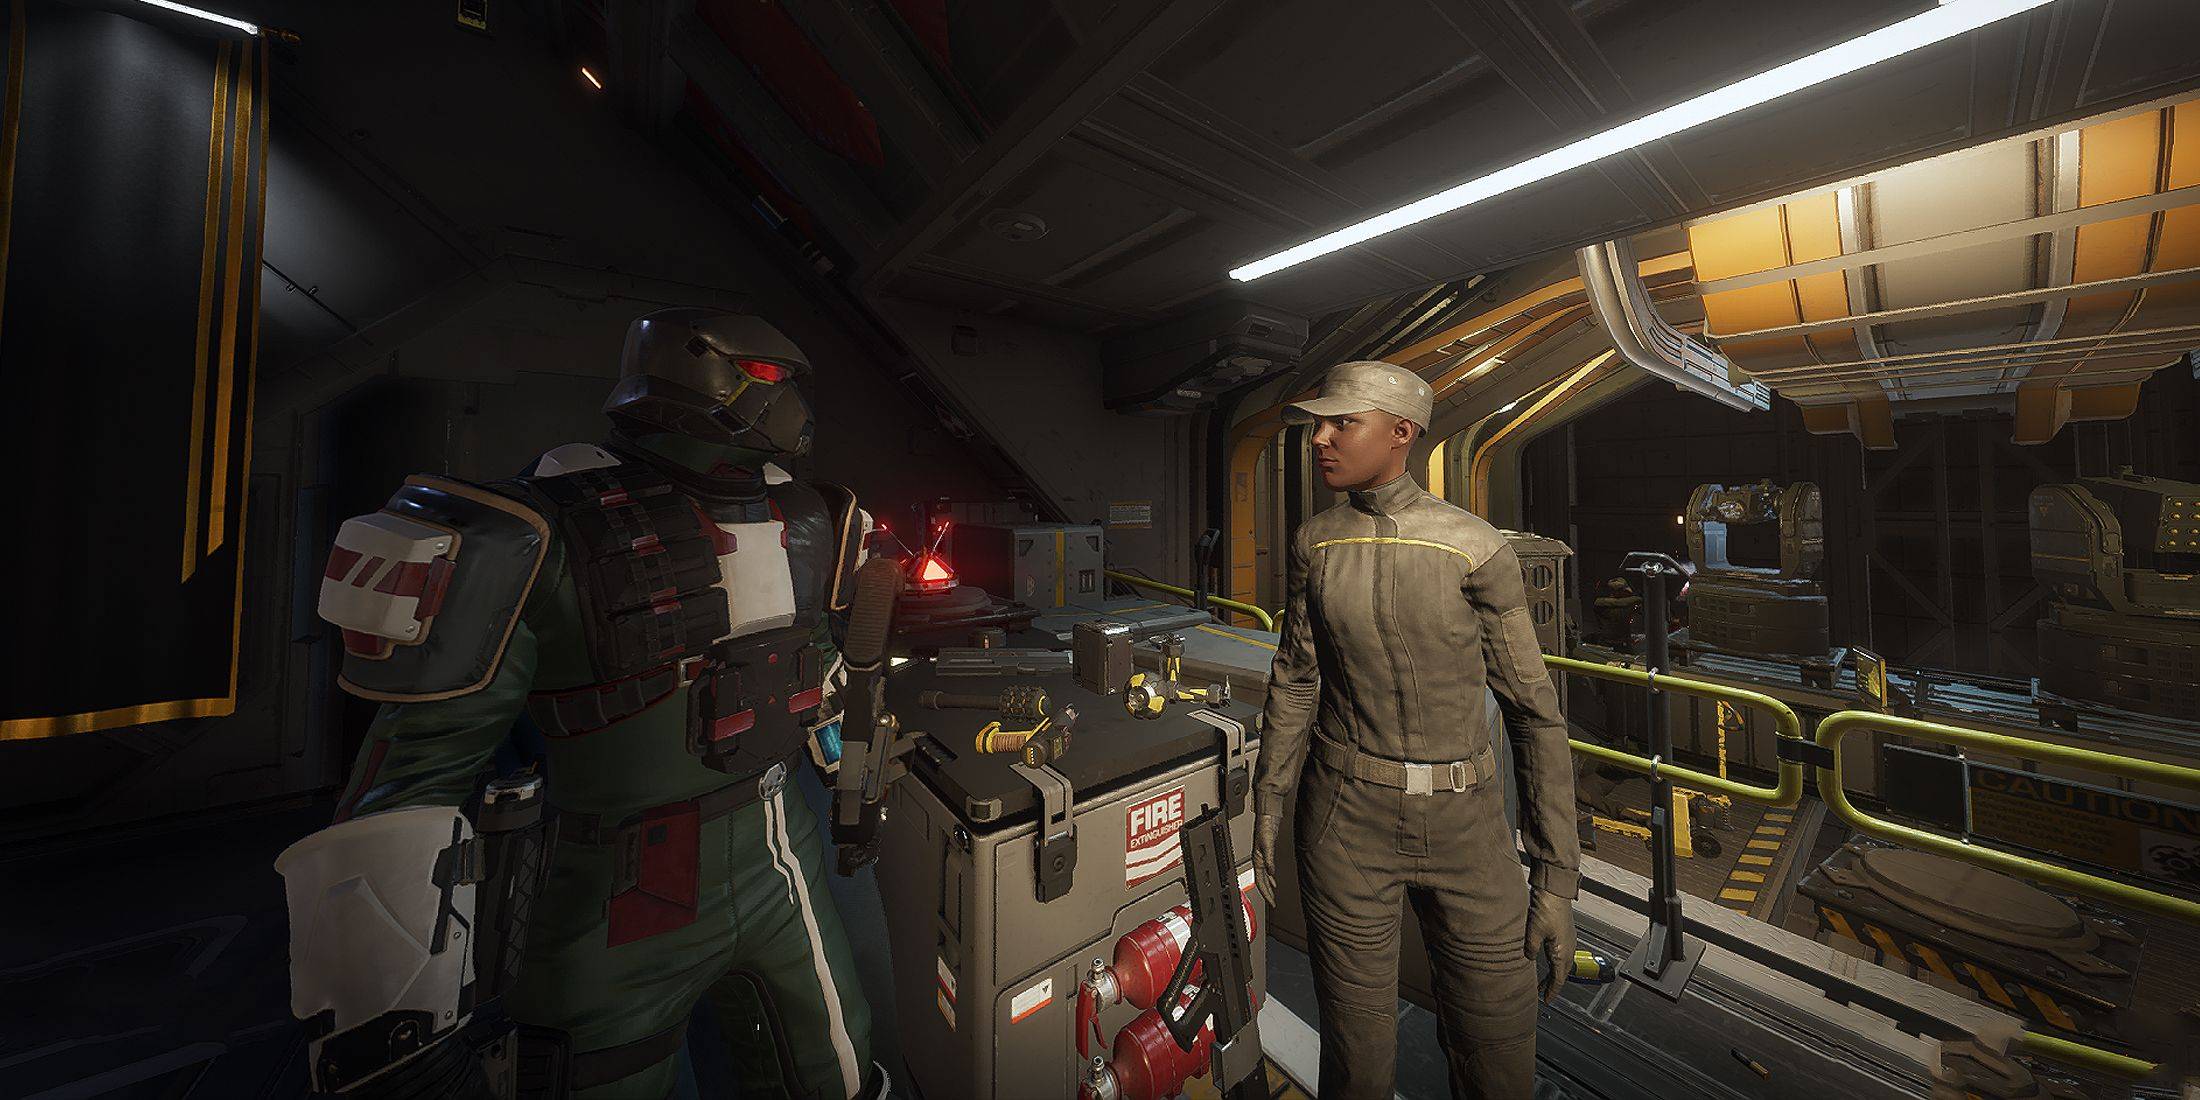
Helldivers 2 categorizes armor into light, medium, and heavy, impacting mobility and defense. However, the real game-changer lies in the armor passives – powerful perks significantly altering gameplay. This guide provides a complete overview of all passives and a tier list to optimize your loadouts.
All Armor Passives and Their Effects
The game currently features 14 armor passives, each impacting your strategy and effectiveness. Remember, only body armor offers passives; helmets and capes are standard.
| Armor Passive | Description |
|---|---|
| Acclimated | 50% resistance to acid, electrical, fire, and gas damage. |
| Advanced Filtration | 80% resistance to gas damage. |
| Democracy Protects | 50% chance to survive lethal attacks (e.g., headshots); prevents chest injuries (e.g., internal bleeding). |
| Electrical Conduit | 95% resistance to lightning arc damage. |
| Engineering Kit | +2 grenade capacity; 30% recoil reduction while crouching or prone. |
| Extra Padding | +50 armor rating. |
| Fortified | 50% resistance to explosive damage; 30% recoil reduction while crouching or prone. |
| Inflammable | 75% resistance to fire damage. |
| Med-Kit | +2 stim capacity; +2 seconds stim duration. |
| Peak Physique | 100% increased melee damage; improved weapon handling. |
| Scout | 30% reduced enemy detection range; map markers generate radar scans. |
| Servo-Assisted | 30% increased throwing range; 50% additional limb health. |
| Siege-Ready | 30% increased primary weapon reload speed; 30% increased primary weapon ammo capacity. |
| Unflinching | 95% reduced recoil flinching. |
Armor Passive Tier List (Version 1.002.003)
This tier list assesses passives based on overall value, utility, and effectiveness across various missions and enemy types.
| Tier | Armor Passive | Reasoning |
|---|---|---|
| S | Engineering Kit | Extra grenades are invaluable for diverse tasks: sealing bug holes, destroying structures, and dealing significant damage. |
| Med-Kit | Significantly enhances survivability, especially when combined with the Experimental Infusion booster, offering near-death recovery capabilities. | |
| Siege-Ready | Substantially improves ammo management and reload times, crucial for handling large enemy groups, particularly with high-consumption weapons. | |
| A | Democracy Protects | Provides a strong defensive boost, particularly early game, mitigating lethal damage. |
| Extra Padding | Offers consistent damage resistance. | |
| Fortified | Extremely useful against Automatons, increasing survivability against explosive attacks. | |
| Servo-Assisted | Highly effective against Terminids; increased throwing range allows for safer stratagem deployment and grenade usage. | |
| B | Peak Physique | While useful, melee combat is generally avoided, and other methods effectively handle mobile enemies. |
| Inflammable | Situational, ideal for fire-based builds and effective against certain enemies in specific environments. | |
| Scout | Useful for revealing enemy positions, but its limited functionality prevents a higher ranking. | |
| C | Acclimated | Elemental resistances are rarely needed simultaneously in a single mission. |
| Advanced Filtration | Only beneficial for gas-focused builds, with limited overall impact. | |
| Electrical Conduit | Primarily useful against the Illuminate, but other options often prove superior. | |
| Unflinching | Minimal impact on combat effectiveness. |